A professional MARKITON Photoglass guide How to Print on Glass with Ceramic Glass Toner (Step-by-Step)

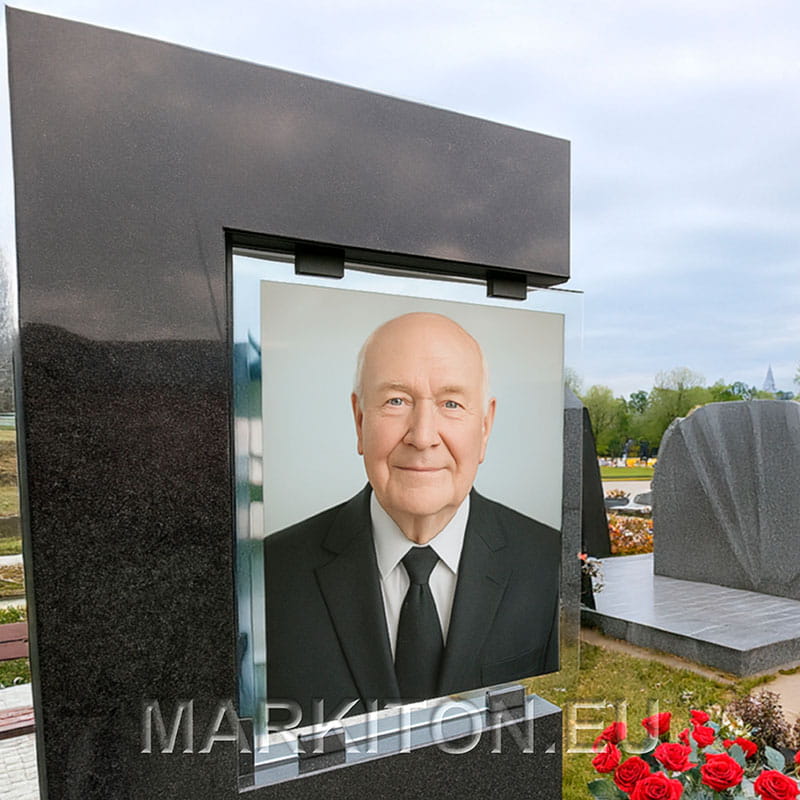
Ceramic Glass Printing with MARKITON
Glass printing is a technology that allows you to create durable images on transparent and matte glass surfaces using a special ceramic glass toner and glass decal paper.
After firing, the image becomes a single layer with the glass surface — resistant to UV, moisture, and mechanical impact. It remains bright for decades.
This step-by-step guide is suitable for both small studios and production workshops working with interior and architectural glass.
Ideal Applications
- interior glass panels
- decorative stained glass and art objects
- façade and architectural glass
Recommended Materials
Step 1 Preparing the Artwork
- Open your image in an editor and apply the GX ICC profile, optimized for glass and transparent surfaces.
- For transparent glass:
- add a white underlayer to increase brightness, or
- use reverse/mirror printing if the artwork will be viewed from the back of the glass.
- Increase color saturation by 5–10%, as glass slightly diffuses light.
- Check that thin lines and details have enough thickness — crucial for correct toner sintering.
Step 2 Printing
- Load an EDP-G sheet glossy side up.
- Printer settings:
- High Resolution / Photo mode
- GX Color Profile
- Toner density: 100–120%
- Print the artwork.
- Let it rest for 10 minutes to stabilize the glass toner.
Important: Do not touch the surface — glass toner is more sensitive before transfer.
Step 3 Transferring the Decal to Glass
- Submerge the decal in water for 20–40 seconds, until the film begins to slide.
- Slide the image onto the glass surface, aligning the edges carefully.
- Remove moisture from the center outward using:
- a soft rubber squeegee, or
- a felt cloth
- Ensure no air or bubbles remain — this is critical for glass firing.
- Allow the piece to dry for at least 30 minutes before loading it into the kiln.
Step 4 Firing (530–630 °C)
Firing ensures the glass toner sinters with the glass surface.
Recommended firing profile:
550–600 °C
3–4 hours, depending on glass thickness
15–25 minutes
Let the piece cool inside the kiln to avoid thermal shock.
After firing, the image becomes part of the glass — with no texture, no haze, and no color shift.
Final Result

bright, clean colors

high detail reproduction

perfect adhesion to glass

resistance to UV, moisture, and physical wear

professional appearance for both interior and architectural applications
This method is ideal for producing long-lasting glass panels, stained glass, decorative elements, and façade glass featuring durable ceramic printing.